In the summer of 2024, spring of 2025, and fall of 2025, I had the pleasure of working as a label design intern in Multi-Color Corporation’s Rapid Prototyping Center (RPC).
MCC provides high-quality recyclable labels to the world’s most recognizable brands through innovative and sustainable solutions, guaranteeing every product is Labeled with Care.
As an intern at MCC’s, I used imaging and converting technology to turn ideas and art into high-quality prototypes across a variety of substrates, incorporating special effects that simulate real press production.
I learn a lot during my time, and I’d love to share if asked!
While I am unable to show the work I completed during my internship, I am allowed to share a personal project, displayed below, using the skills I gain through the experience.

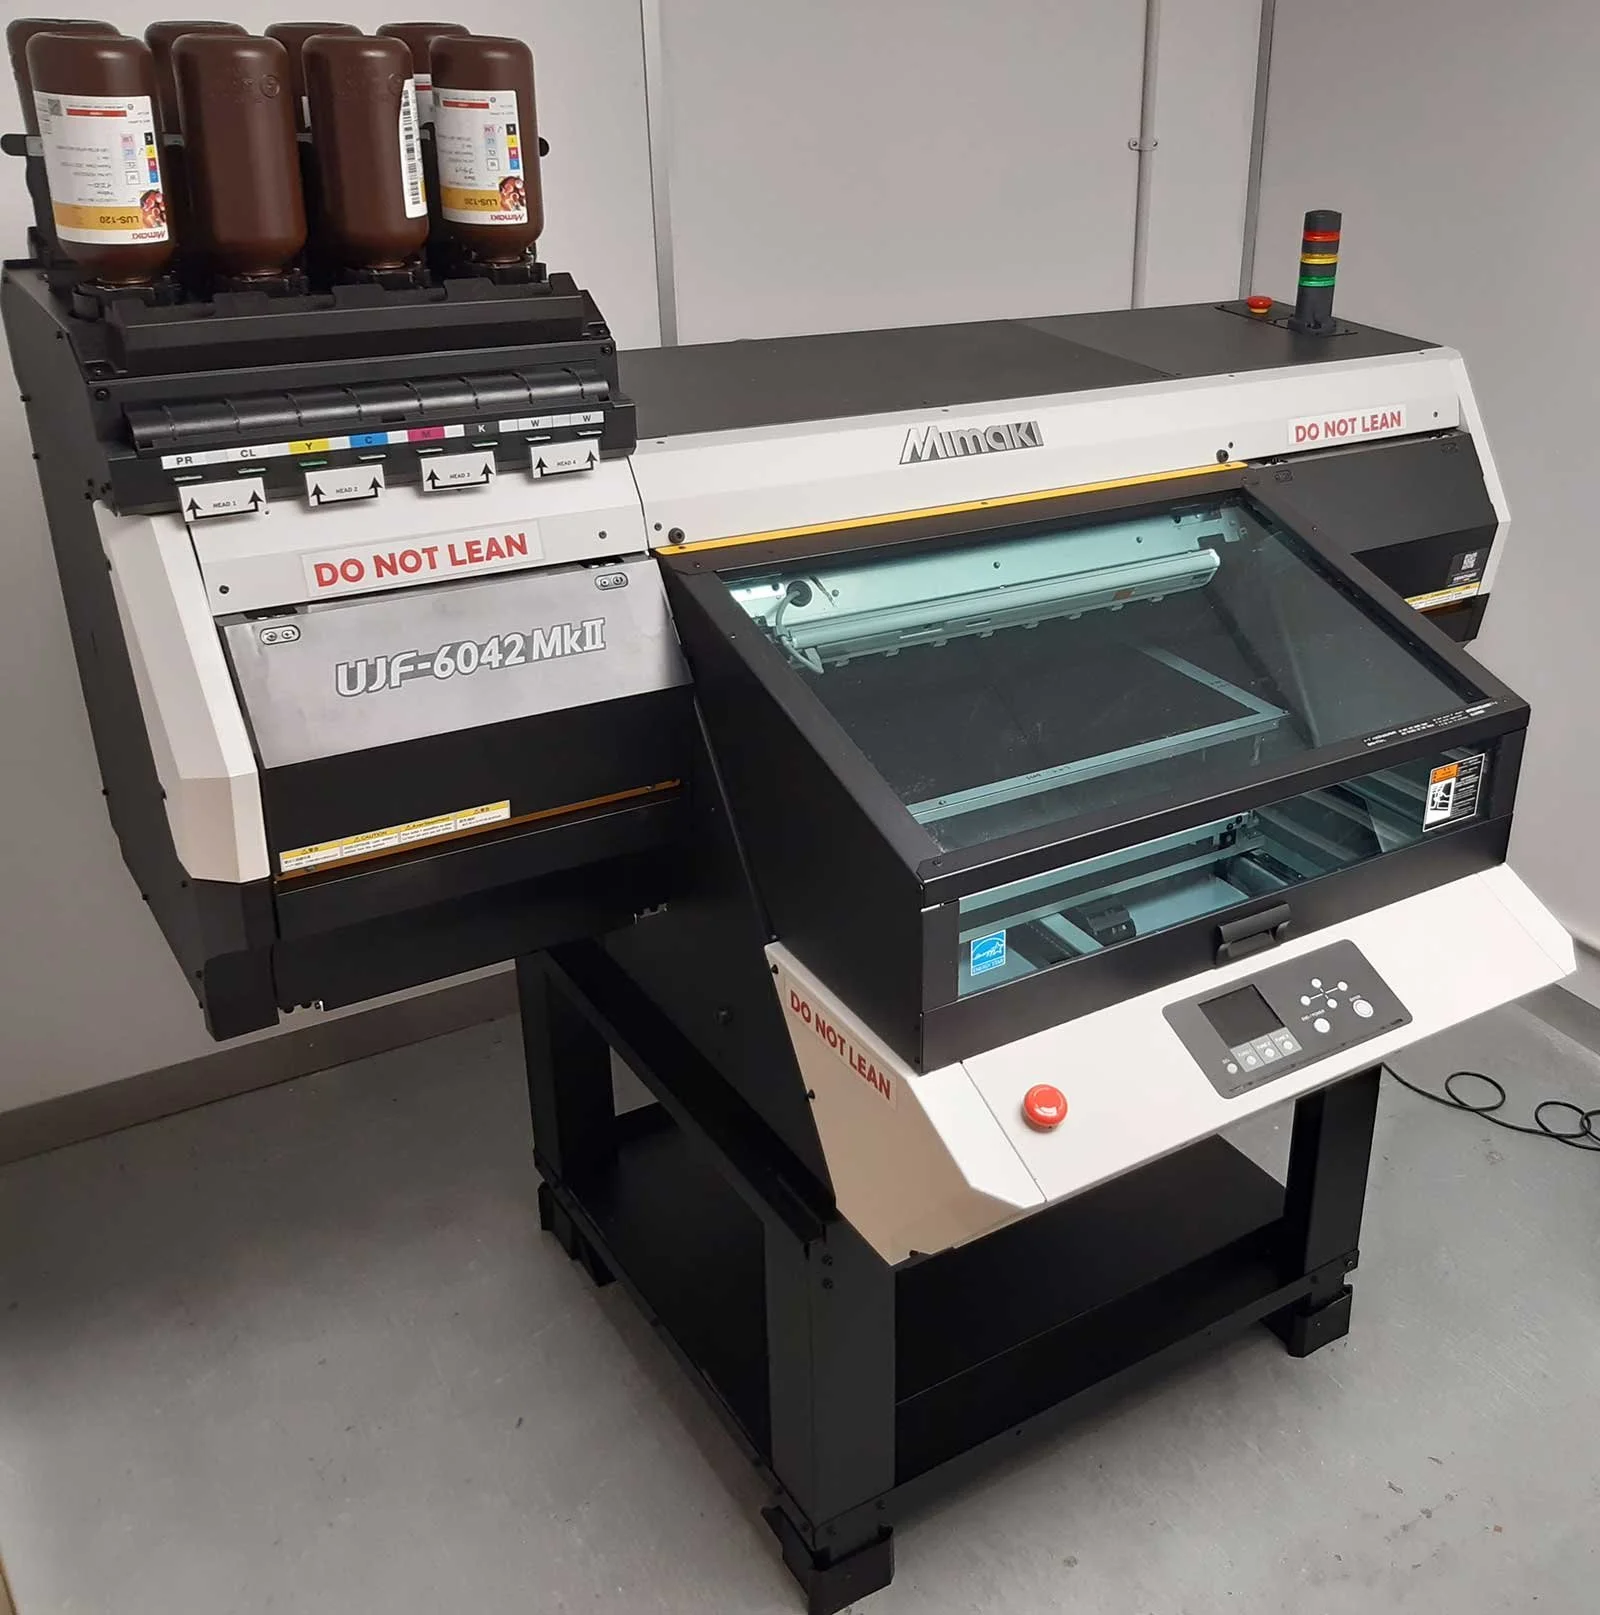
Multi-Color Corporation’s Rapid Prototyping Center uses Mimaki UJF-6C42 MkII printers to produce the prototypes.
The Mimaki uses CMYK, White, Primer, and Clear UV-curable inks to print on any material that fits in the printer.
Print files are created using Adobe Illustrator using MCC’s quality guidelines.
Guidelines
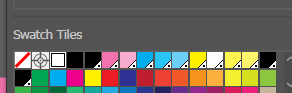
Specific color swatches are used to block out special effect varnishes and white ink layer when creating files in Adobe Illustrator.
In RasterLink, Mimaki’s printing software, layer printing properties are changed depending on the swatch.
Cyan (C) —> White
Magenta (M) —> Clear Matte
Yellow (Y) —> Clear Gloss
Black (B) —> Primer
File Creation
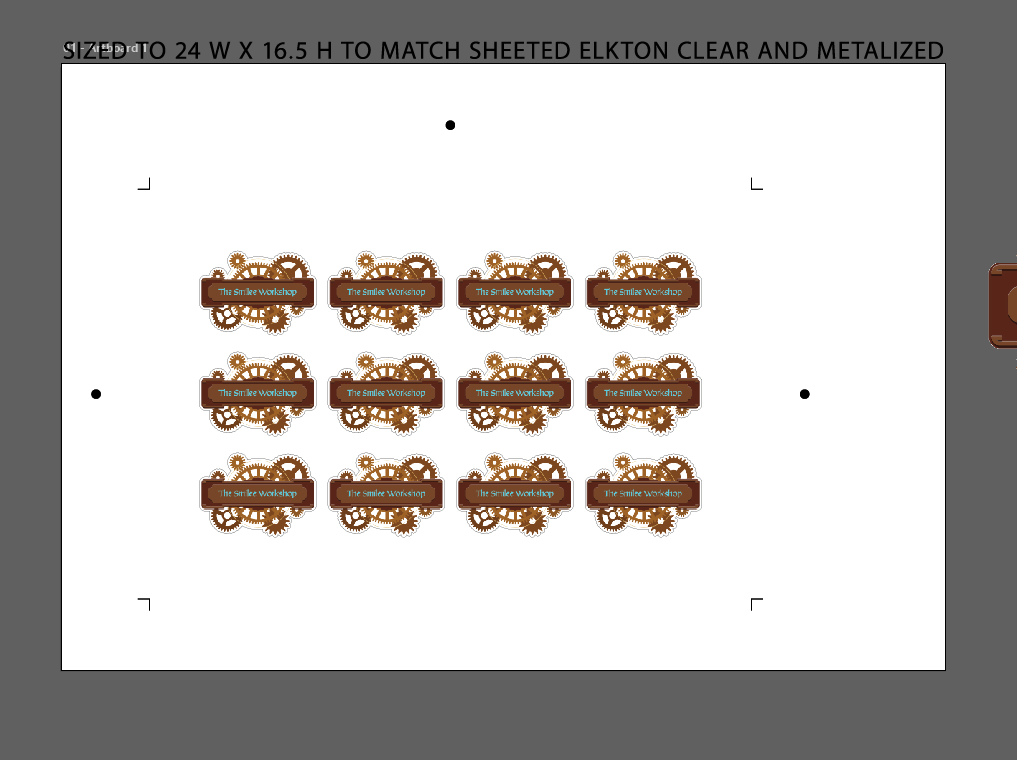
Each material has a different size requirement.
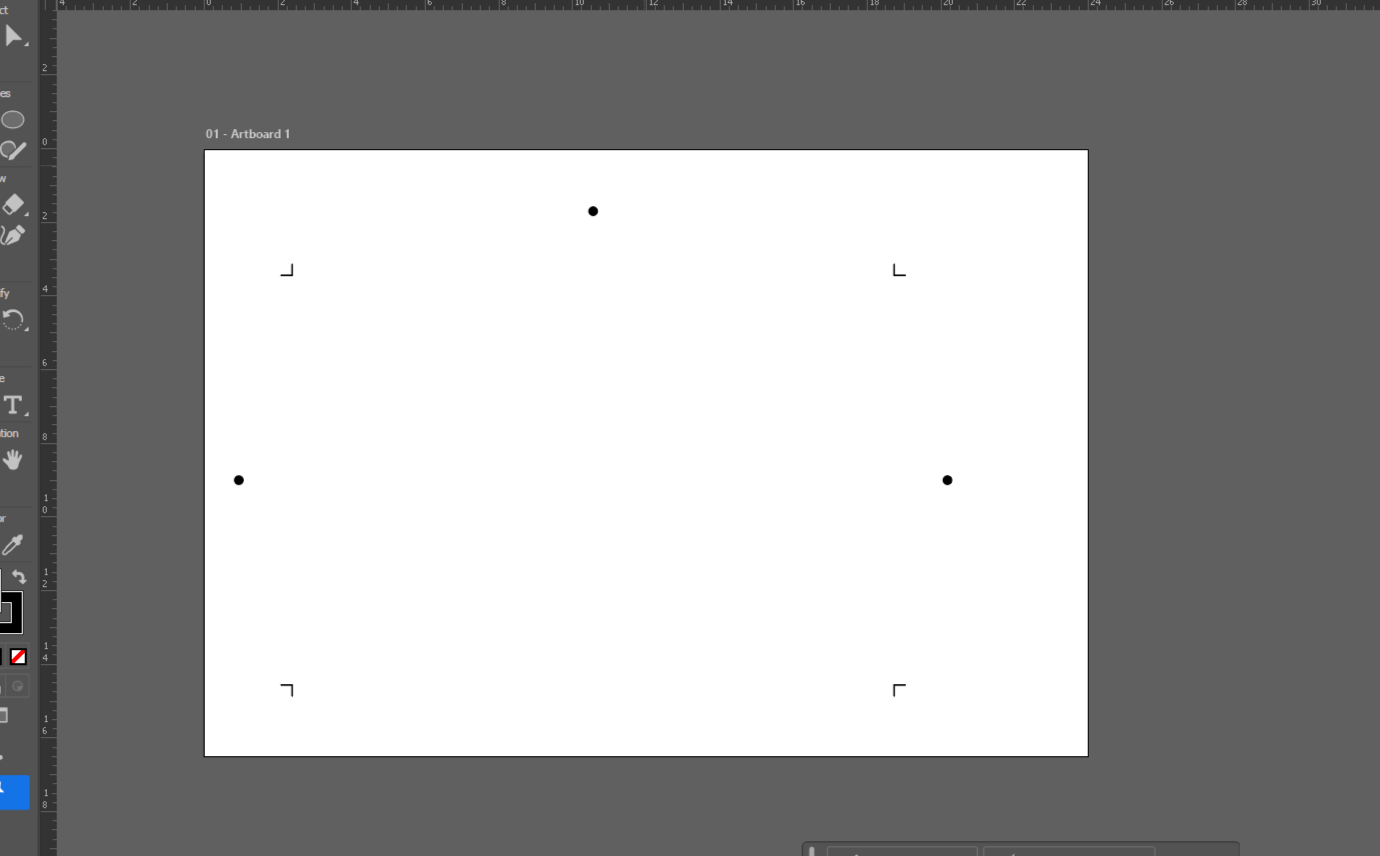
The most frequently used substrates have premade templates that contain registration and cut marks.
The art must fit inside the registration and cut marks to be cut on the Mimaki cutting plotter.
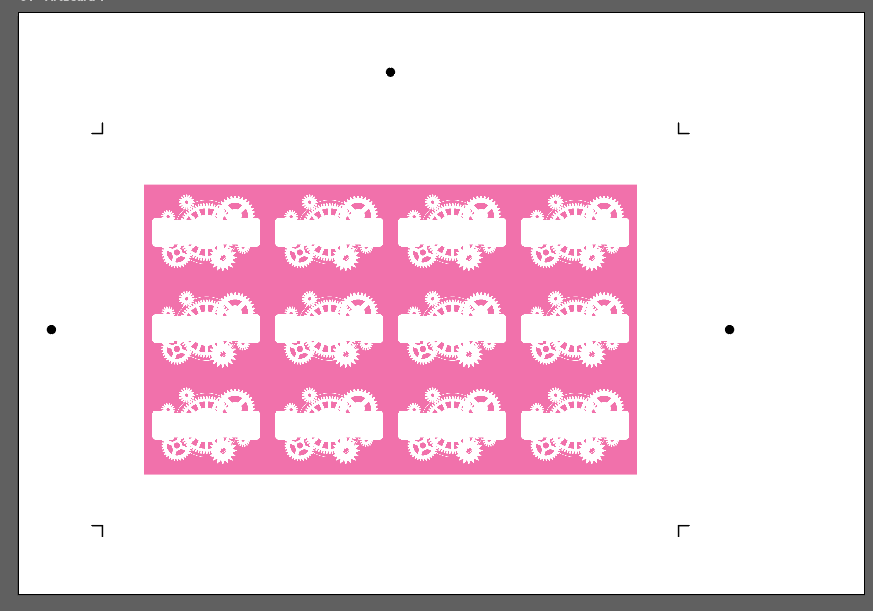
The magenta rectangle will become clear matte.
Using FineCut, an Adobe Illustrator plugin and Mimaki’s plotting software, I generated cut data around each label, then linked the registration and cut marks to the cut data.
The files print through Adobe Illustrator.
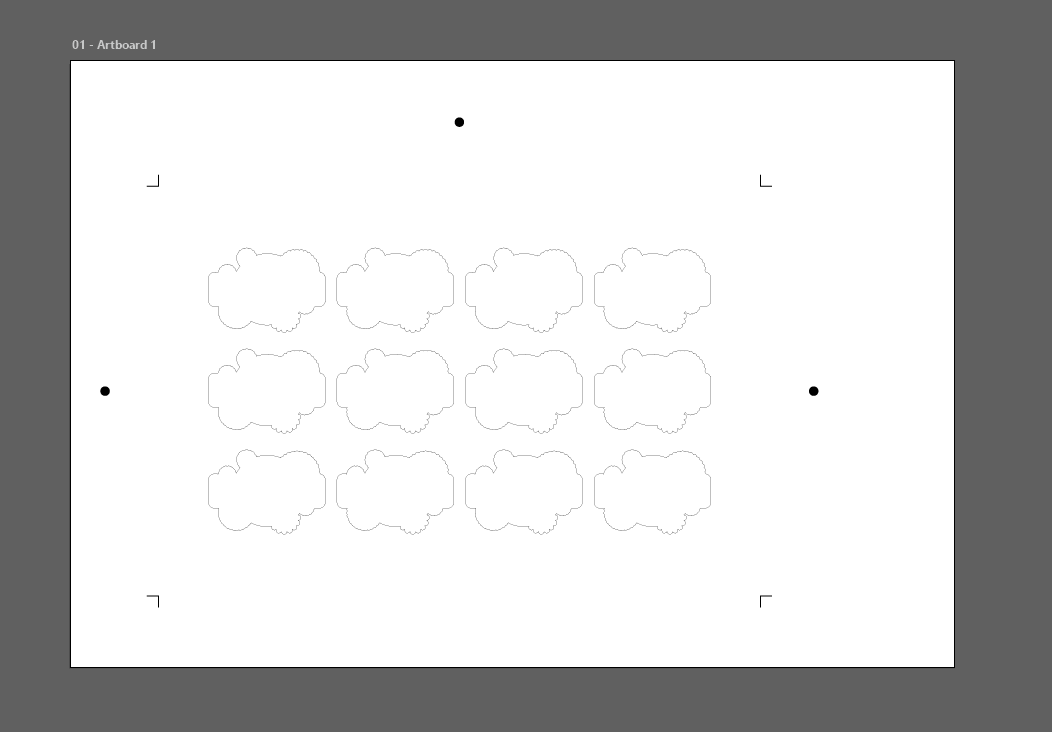
The thickness of the material determines the knife pressure.
The goal is for the knife to cut through the top layer, leaving the labels attached to the film.
After I loaded the printed sheet, uploaded the cut file, and adjusted the cut pressure, the plotter cut the logos out.
Final
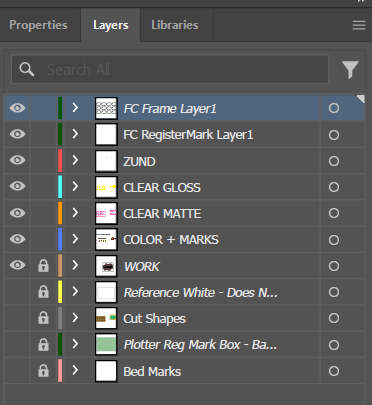
Each different ink types, color, white, and special effect varnishes (Matte, Gloss, Primer), are saved as different layers.
This allows the user to change the properties of each layers in RasterLink from CMYK to the varnishes.
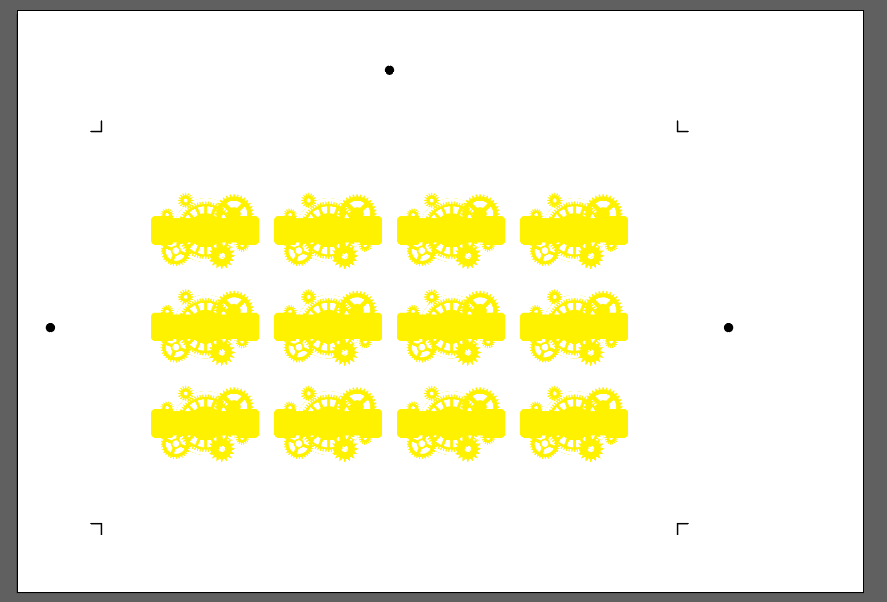
I placed a magenta rectangle over the canvas, then cut out the art.
The pieces cut from the magenta convert to a yellow swatch.
The yellow will become clear gloss.
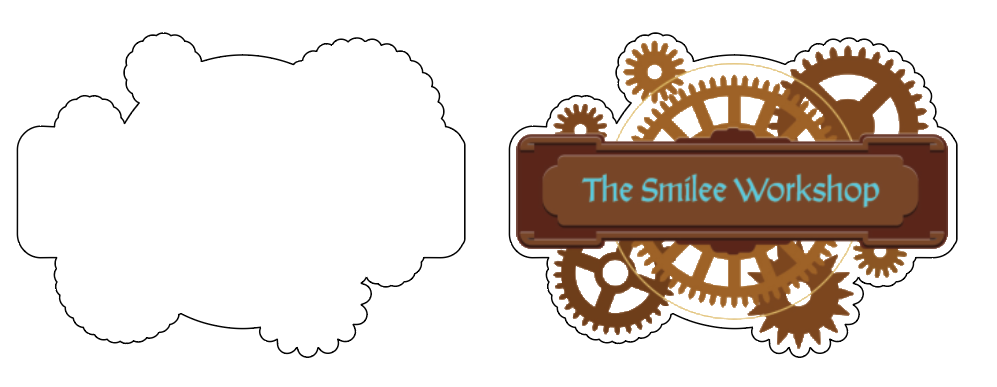

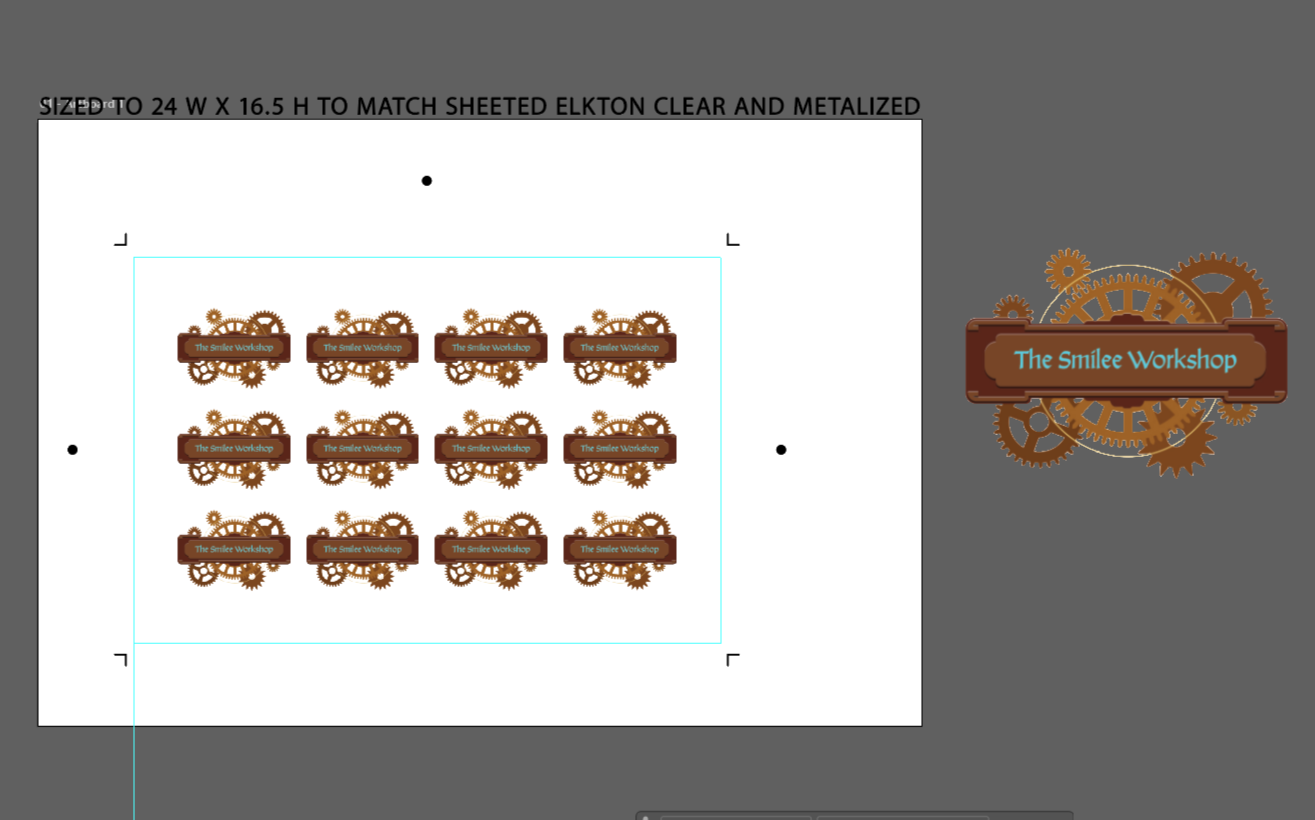
The original art placed outside the canvas as reference.
After deciding on the size for my label, I resized the art and placed as many on the canvas as possible while leaving room for the marks.